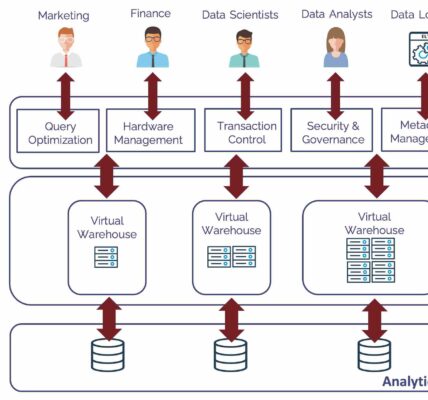
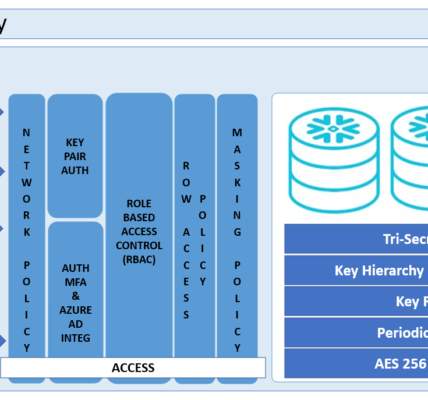
Snowflake, a cloud-based data warehousing platform, provides a robust environment for storing and managing data. One of the fundamental tasks in Snowflake is creating tables to organize and structure your data effectively. In this detailed guide, we’ll walk you through the process of creating tables in Snowflake, along with relevant code snippets to help you get started.
1. Logging into Snowflake:
Before creating tables, ensure you have access to a Snowflake account and have logged in using a supported method, such as the Snowflake web interface or a SQL client.
2. Selecting the Database:
In Snowflake, databases are containers for organizing tables and other database objects. Use the USE command to select the database where you want to create your table. Replace <database_name> with the name of your database.
USE <database_name>;3. Creating a Table:
To create a new table in Snowflake, you’ll use the CREATE TABLE statement. Specify the table name along with the column names and data types.
CREATE TABLE employees (
    employee_id INT,
    first_name VARCHAR(50),
    last_name VARCHAR(50),
    department VARCHAR(50),
    salary DECIMAL(10, 2)
);
In this example, we’re creating a table named employees with columns for employee_id, first_name, last_name, department, and salary.
4. Adding Constraints (Optional):
You can add constraints to your table to enforce data integrity rules, such as unique constraints or foreign key constraints.
CREATE TABLE orders (
    order_id INT PRIMARY KEY,
    customer_id INT,
    order_date DATE,
    total_amount DECIMAL(10, 2),
    FOREIGN KEY (customer_id) REFERENCES customers(customer_id)
);
In this example, we’ve added a primary key constraint on the order_id column and a foreign key constraint referencing the customer_id column in the customers table.
5. Specifying Table Options (Optional):
Snowflake allows you to specify various table options, such as clustering keys for optimizing data storage and retrieval.
CREATE TABLE sales (
    order_id INT,
    product_id INT,
    quantity INT,
    price DECIMAL(10, 2),
    sale_date DATE
) CLUSTER BY (product_id);
In this example, we’ve specified the CLUSTER BY option to cluster the sales table by the product_id column.
6. Viewing Table Metadata:
Once your table is created, you can view its metadata, including column details and constraints, using the DESCRIBE command.
DESCRIBE TABLE employees;This command provides information about the structure of the employees table, including column names, data types, and any constraints.
Conclusion:
Creating tables in Snowflake is a straightforward process that involves defining the table structure using SQL statements. By following the steps outlined in this guide and utilizing the provided code snippets, you can efficiently create tables in Snowflake to organize and manage your data effectively. Experiment with different table options and constraints to tailor your tables to your specific requirements and optimize performance.


