Imagine being able to create cinematic-quality videos just by describing a scene in words. That’s exactly what Google Veo 3 does—it turns text prompts into stunning, realistic videos with synchronized audio. Whether you’re a filmmaker, marketer, or just someone who loves experimenting with AI, Veo 3 is a game-changer.
Let’s break it down in a way that’s easy to understand. No jargon, just the essentials.
What Is Google Veo 3?
Think of Veo 3 as your AI-powered video director. You type in a description—like “a futuristic city with neon lights and flying cars”—and Veo 3 creates a video that matches your vision. But it’s not just visuals; it also adds sound effects, ambient noise, and even character dialogue.
This is a huge leap from previous AI video generators, which mostly focused on silent, short clips. Now, Veo 3 makes full-fledged scenes possible.
According to Google DeepMind, Veo 3 is designed to follow prompts more accurately than ever before, ensuring that the generated videos align closely with user descriptions. It also supports 4K resolution, making it one of the most advanced AI video tools available.
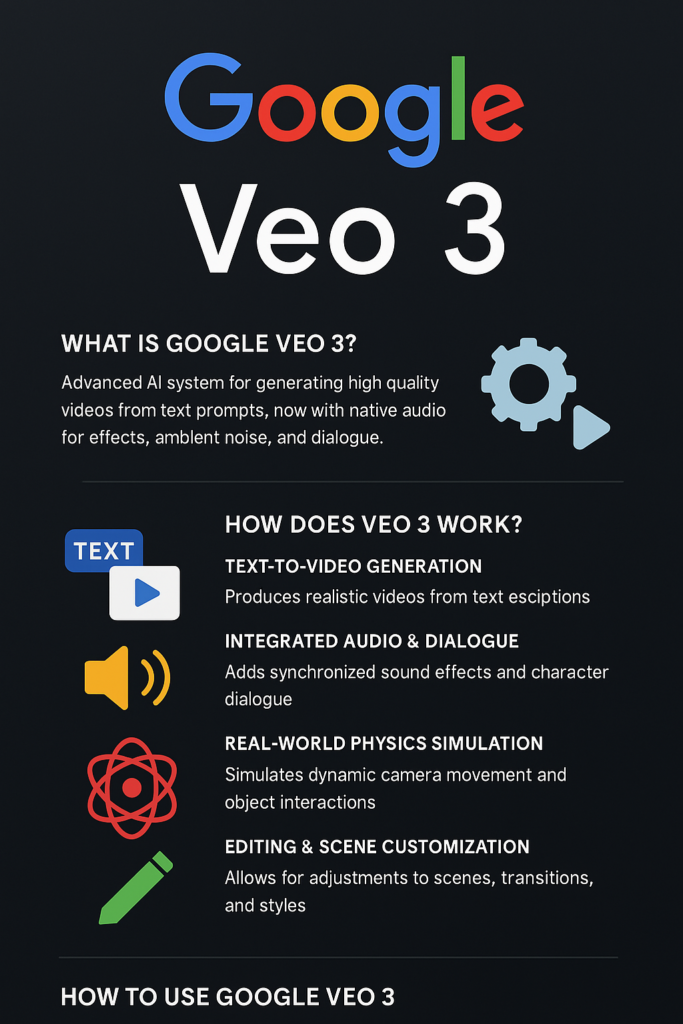
How Does Veo 3 Work?
Veo 3 is powered by Google DeepMind’s advanced AI models, combining visual realism, physics-based rendering, and audio generation. Here’s how it works:
1. Text-to-Video Generation
- You provide a detailed prompt describing a scene.
- Veo 3 interprets the prompt using AI models like Gemini (for language processing) and Imagen (for image generation).
- The AI renders a video with realistic motion, lighting, and depth.
2. Integrated Audio & Dialogue
- Unlike previous versions, Veo 3 generates native audio, including sound effects, ambient noise, and character dialogue.
- AI ensures lip-sync accuracy for characters speaking in the video.
3. Real-World Physics Simulation
- Veo 3 mimics real-world physics, making movements and interactions more natural.
- This allows for dynamic camera angles, object interactions, and realistic environments.
4. Editing & Scene Customization
- Users can adjust camera angles, edit transitions, and maintain visual consistency across scenes.
- Veo 3 supports asset management, allowing creators to reuse elements in multiple videos.
According to Tom’s Guide, Veo 3 is integrated with Google’s Flow AI, which allows users to edit scenes, adjust angles, and maintain continuity across multiple clips.
How to Use Google Veo 3
Step 1: Access Veo 3
- Veo 3 is available through Google AI Ultra ($249.99/month) and Vertex AI for enterprise users.
- Users can access it via Google Cloud or DeepMind’s AI platform.
Step 2: Create a Video
- Open Veo 3 and enter a detailed prompt (e.g., “A detective interrogates a nervous-looking rubber duck in a dimly lit room”).
- Select audio preferences (dialogue, background music, sound effects).
- Click Generate to create the video.
Step 3: Edit & Customize
- Adjust camera angles, scene transitions, and lighting.
- Add custom assets or modify existing elements.
- Export the final video in 4K resolution.
Why Veo 3 Is a Game-Changer
- Filmmakers can create cinematic scenes without expensive equipment.
- Marketers can generate high-quality ads and promotional videos.
- Educators can craft interactive learning experiences.
Veo 3 is redefining AI-generated media, making high-quality video production accessible to everyone. Ready to explore its potential? 🚀
For more details, check out Google DeepMind’s official page and Tom’s Guide’s breakdown. Would you like a technical deep dive into Veo 3’s AI architecture or a comparison with other AI video tools? Let me know!